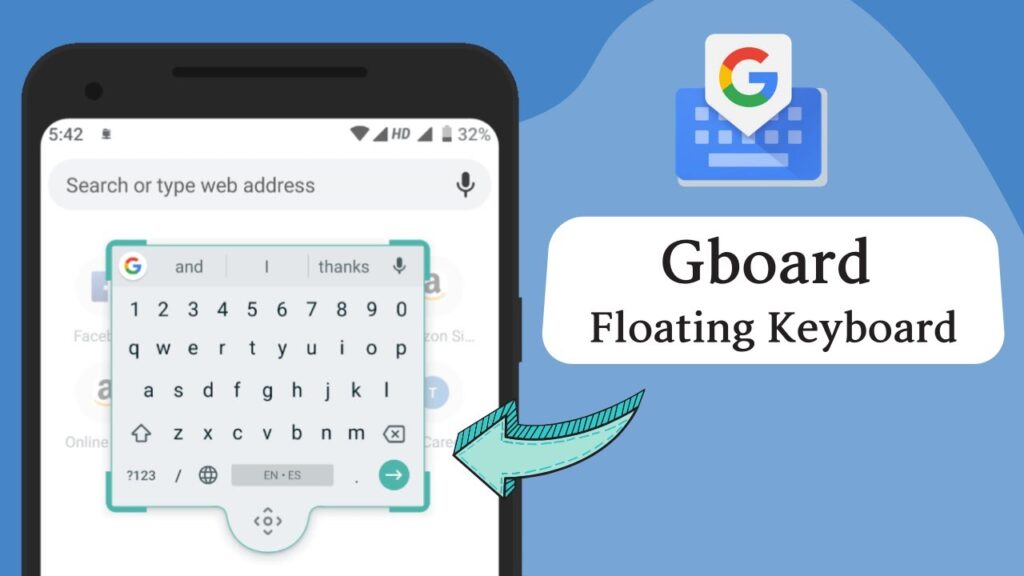
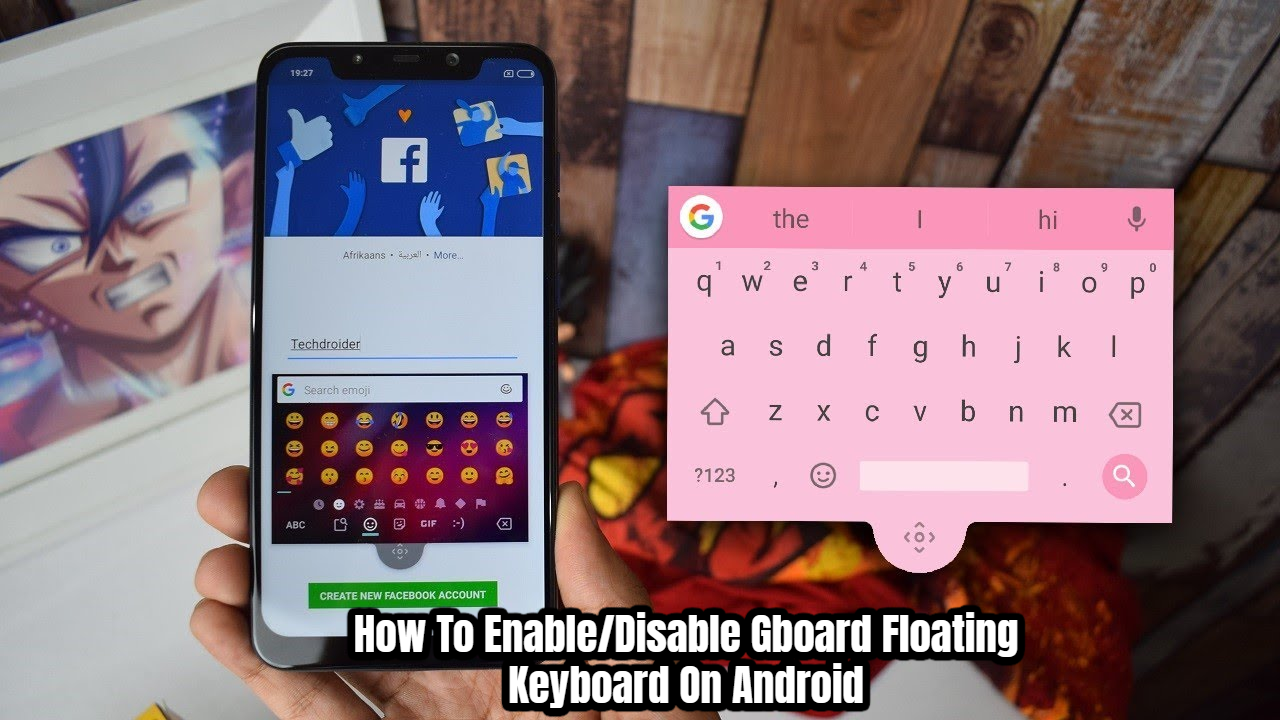
How To Enable/Disable Gboard Floating Keyboard On Android. On-screen keyboards are getting close to replicating the physical keyboards we’ve grown accustomed to (thank you Nokia and Blackberry!). However, since phones have gone all-screen, we’ve become reliant on on-screen keyboards, which have advanced far too quickly. Swiftkey and Gboard have set the standard very high, and owing to regular updates, the apps are getting better and better, with new features and faster performance. The floating keyboard option is one such underappreciated feature that saves a lot of time for folks who spend a lot of time at their keyboard. This gives consumers a lot more screen real estate, and because the keyboard is floating, you can move it wherever you like. The focus of today’s session will be on this simple yet effective feature. So, scroll down to learn how to use Google’s Gboard’s floating keyboard mode.
How To Use Google’s Gboard’s Floating Keyboard Mode
STEP 1: Open any text-based app, such as Messages or WhatsApp. The Google logo appears when the keyboard is visible. It should be tapped.

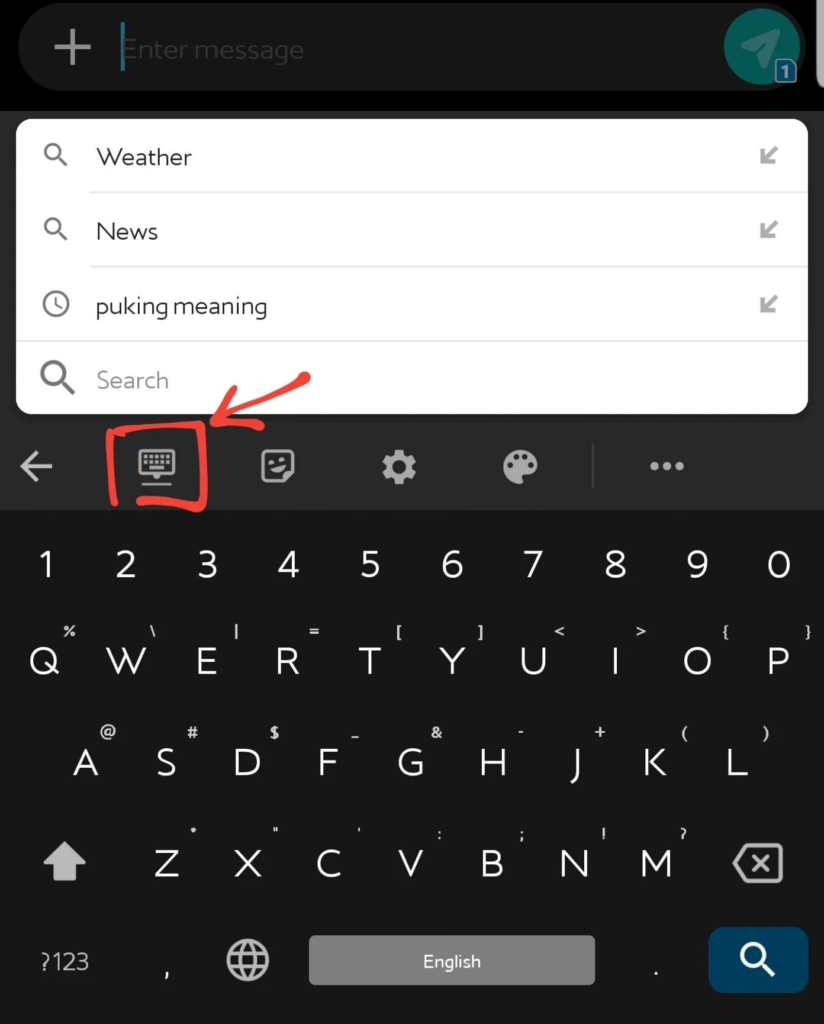
STEP 2: You’ll be presented with a variety of options. Select the first choice from the drop-down menu.

STEP 3: If you don’t see an icon like this, click the three dots and it will appear.
Also Read:How To Get Gaming Mode On Any Android
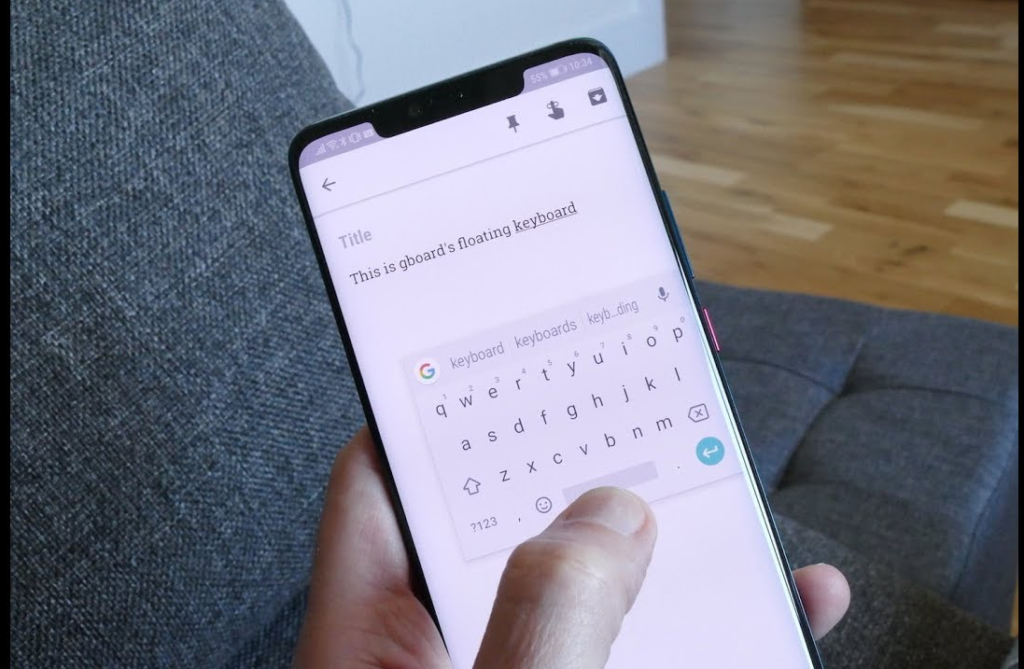
STEP 4: The keyboard will be undocked once the floating keyboard mode is enabled. Drag the blue highlighted corners and scale the undocked keyboard to change its size.

You can text on this small keyboard and drag it around as you choose. The keyboard becomes translucent as you move it, revealing what’s in the background.
STEP 5: To return to the standard mode, simply drag the keyboard to the bottom of the screen.
Here’s a video to help you understand:
While Swiftkey was the first to introduce this function, Gboard has since improved upon it, making it the greatest keyboard software for Android. Please let us know whether you liked our coverage of how to enable the floating keyboard mode in Gboard.


