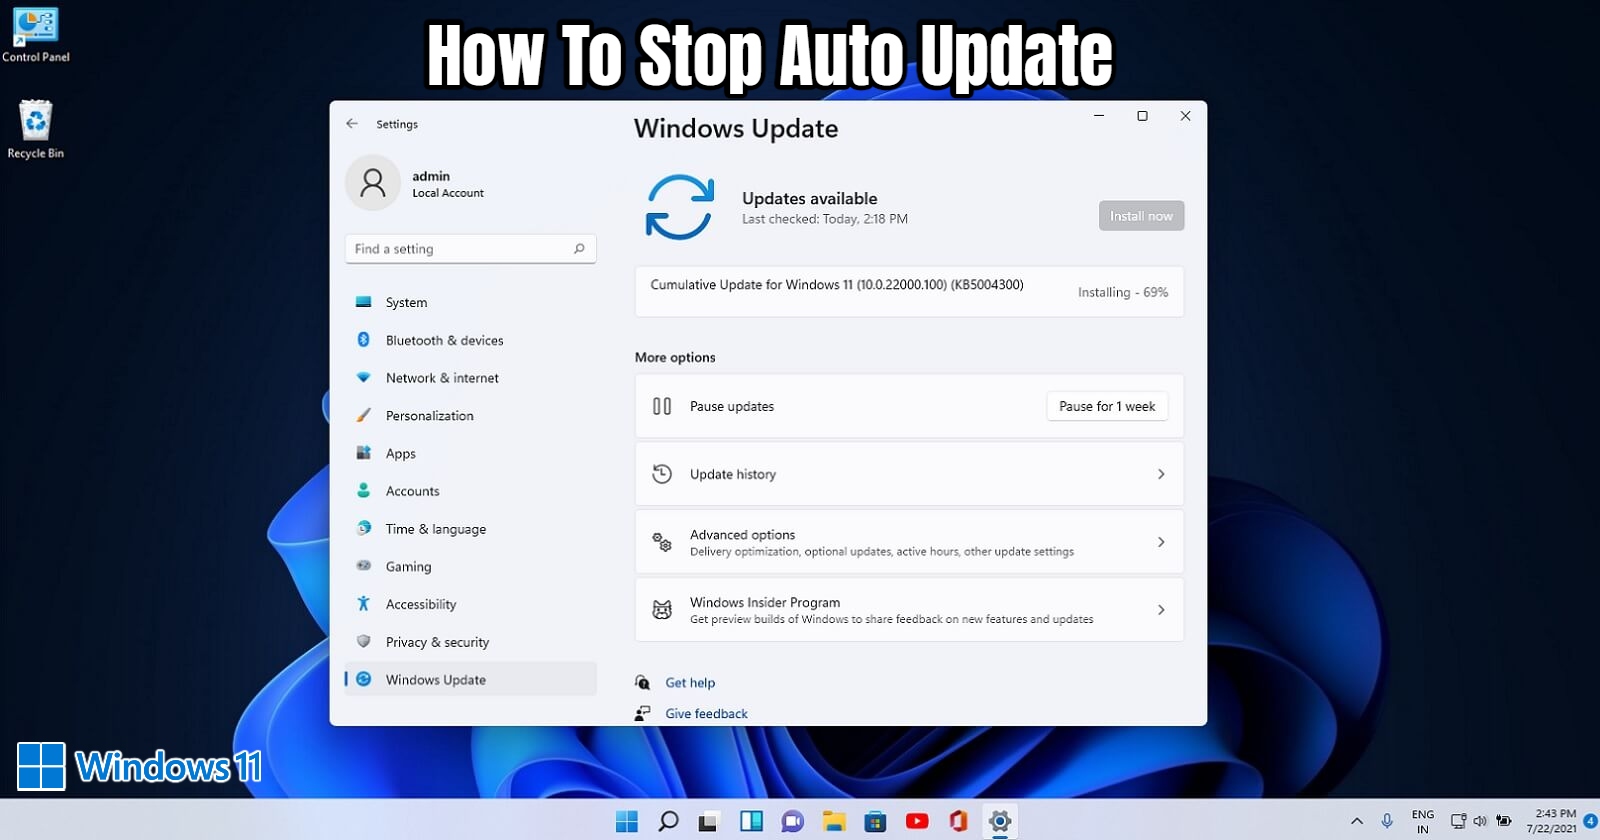
How To Stop Auto Update In Windows 11. Microsoft routinely downloads and instals Windows 11 updates by default. Here are four things you can do to avoid it.
Microsoft made numerous major modifications to the Windows experience that had grown so familiar with the release of Windows 11. One major feature, though, remains unchanged from Windows 10: the approach to updates.
Windows 11 downloads and instals various updates automatically by default. You may not realise this is happening until you want to switch off your device, because most updates need a restart.
You may, however, prefer to have more control over which updates are installed on your computer and when they are downloaded. Here are four ways to switch off automatic updates in Windows 11 whether you just need a temporary break or something more permanent.
Table of Contents
Temporarily Disable Windows 11’s Automatic Updates In Settings
This is the most basic way, but it is also the most restricted. If you’re getting a lot of updates right now and don’t want to have to check them manually in the long run, try this:
- Open the Options menu.
- Select Windows Update from the left pane — it’ll generally be near the bottom.
- You’ll see a ‘Pause updates’ option under ‘More updates.’ After 1 week, click the ‘Pause for 1 week’ button, and automatic updates will resume.

This setting, on the other hand, blocks updates for seven days or until you restart them. Unlike the other techniques described in this post, there is no option to continue installing them manually.
Using Windows Services, Disable Windows 11’s Automatic Updates
If you’re looking for something a little more long-term, consider using Windows Services:
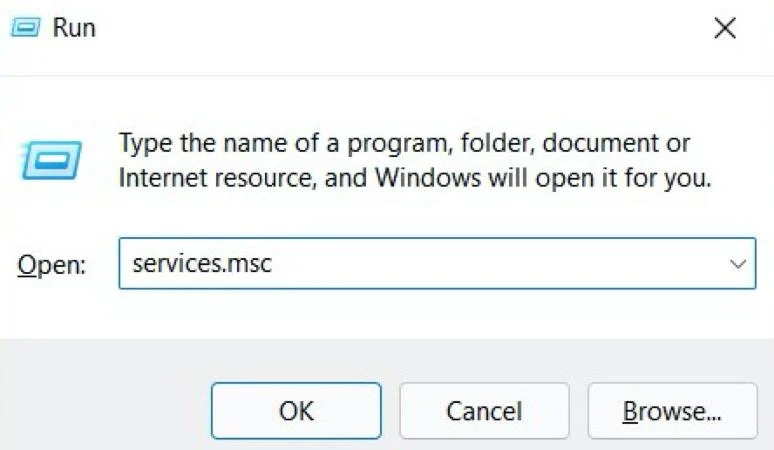
- To open the ‘Run’ window, press Windows Key + R.
- In the box, type’services.msc’ and press Enter.
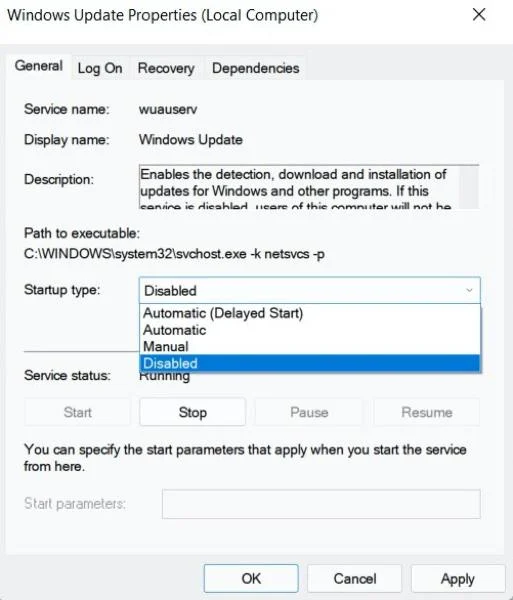
- Scroll down the list of ‘Services (Local)’ until you locate ‘Windows Update’ and double-click it.
- Select ‘Disabled’ from the drop-down next to ‘Startup type’ in the ‘General’ tab of the Properties window that appears.
- To save the changes, click ‘Apply’, then ‘OK.’
Also Read:How To Watch Netflix In 4k On Tv
Automatic updates will no longer be available, but you may still manually install them in Settings. If you ever want to turn them back on, simply repeat the process, selecting ‘Manual’ or ‘Automatic’ instead of ‘Manual’ or ‘Automatic’.
To Stop Windows 11 From Automatically Updating, Set Up A Metered Connection
A metered connection is a type of internet connection that has a limit on how much data you can consume. As you might think, setting up a metered connection in Windows 11 prevents automated updates from downloading in the background. Here’s how to put one together:
- Select ‘Network & internet’ from the left pane of Settings.
- Click ‘Properties’ next to the network you’re using at the top of the page.

3. Toggle the switch next to ‘Metered connection’ to turn it on.
4. After that, go to the left pane and select ‘Windows Update’, then ‘Advanced options.’
5. Next, go to the ‘Download updates over metered connections’ box and toggle it on.
Your ordinary surfing experience should be unaffected if you don’t set any limits for the metered connection. Other background programmes that rely on the internet, on the other hand, may be disabled.
By Modifying The Registry, You Can Disable Windows 11’s Automatic Updates
Making modifications to the register is the fourth and final technique. As a result, proceed with caution and carefully follow the steps below:
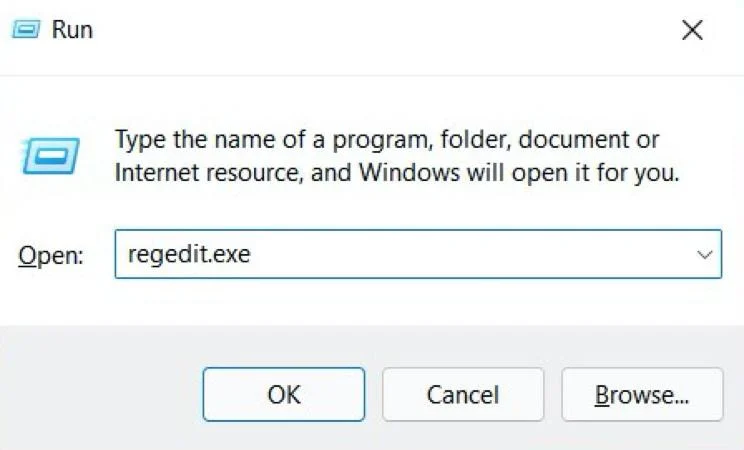
- To open the ‘Run’ window, press Windows Key + R.
- In the box, type regedit.exe and press Enter.
- To confirm that you want to make changes, click ‘Yes’ on the pop-up that displays.
- An address bar is located just above all of the folders. Before hitting Enter again, delete anything you see there and replace it with ‘HKEY LOCAL MACHINESOFTWAREPoliciesMicrosoftWindowsWindowsUpdateAU’.
- Select New > DWORD (32-bit) Value from the context menu of any blank space in the right side of the screen.
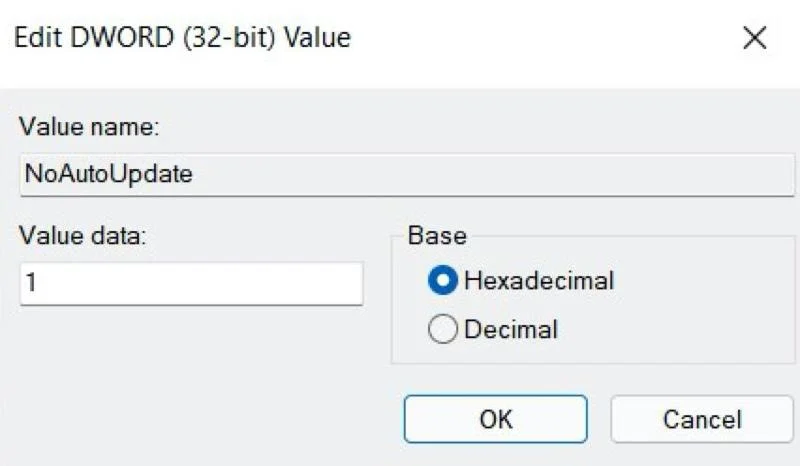
- Put the name ‘NoAutoUpdate’ in the box and press Enter.
- Double-click the new value and change the ‘Value data’ to 1.
- To implement the changes, click ‘OK’ to confirm, then restart your device.
As you can see, when it comes to deactivating automatic updates in Windows 11, you have a lot of options. All of them are reversible, which means you can easily turn them back on if you get tired of the manual update process.

