How to Connect Use Playstation VR to PC. One of the more affordable virtual reality headsets on the market is the PlayStation VR. It allows you to have amazing VR experiences without breaking the bank and is compatible with both your PS4 and PS5. Additionally, you could decide against purchasing a second desktop headset if you already own a PlayStation and a gaming PC. Furthermore, not every VR game released is available on Sony’s PSVR platform.
While it is possible, using your PlayStation VR headset with a PC is not the optimal method for enjoying VR games and experiences on PCs. You won’t be able to play games on a large screen or take full advantage of portable controllers, just like you couldn’t with an Oculus Quest 2 and Air Link. But you should be able to play VR games while standing up if they work with a keyboard, mouse, or controller. Try it both ways, and much better if one of your favourite VR PC games is compatible. By following these instructions, you can utilize PlayStation VR on your PC.
Table of Contents
Why Link Your PC to a PlayStation VR?
Enjoy a greater selection of VR games: Compared to the PS4, a greater selection of VR games are available on PC. Playing these games on your PC will enable you to use a PSVR if you own one.
Attain improved output: Virtual reality games can be harsh on hardware. You can achieve higher performance than on the PS4 by connecting your PSVR to a strong PC rather than the PS4.
Employ several controllers: The PlayStation Move controllers included with the VR headset. On the other hand, there are numerous VR controller options for PC. Using a different VR controller that you prefer to use accomplished by connecting your PSVR to your PC
Play around with various VR programs: PC users can choose from a wide range of VR software, including experimental and development tools. A PC connection will enable you to develop VR software or experiment with new VR applications if that’s your passion.
How to Connect Use Playstation VR to PC
- Before you can connect your PSVR, you must install at least one piece of software on your PC. Trinus PSVR will used to write this composition.
- This software includes the headset drivers so that Windows can detect it correctly. Simply download the app, then follow the on-screen instructions.
- Once Trinus PSVR configured, you can attach your HDMI cable to the PS4 HDMI port on the PSVR processor unit.
- Directly connect the HDMI cable’s opposite end to your PC.
- Attach the USB 3.0 cable to the computer at one end.
- Attach the USB 3.0 cable’s other end to the USB 3.0 port on your computer. While USB 3.0 not required, operating at that speed will optimal.
- Press the power button to turn the headset on. The headset ought to appear to Windows as a new screen that attached to your computer.
- From the Start menu, select Settings > System > Display to access Multiple Displays. It is crucial to confirm that the headset’s
- 1920 x 1080 resolution with the option to “Extend these displays” selected.
- Your PSVR headset now fully connected to your PC after installing Windows!
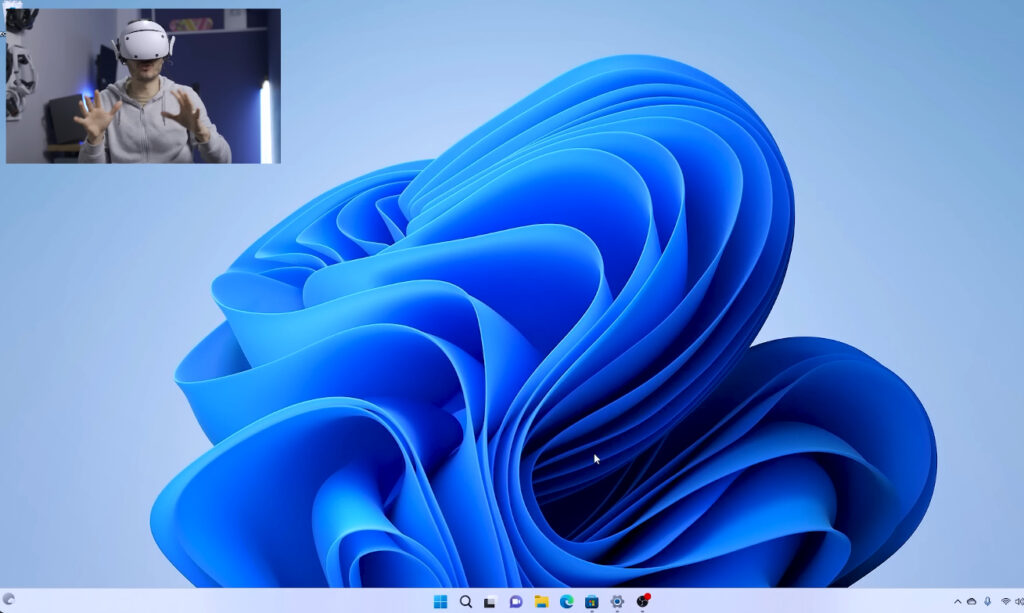
How to Use Playstation VR to PC
Because the PlayStation VR (PSVR) headset was initially intended to be used with a PlayStation console, using it with a PC can provide some challenges. However, you can utilize your PSVR for specific VR experiences if your PC is compatible and you have some third-party software. The following is a general how-to guide:
Please be aware that not all PSVR capabilities may be accessible, and that compatibility and user experience may differ based on the hardware and software specifications of your PC.
Requirements for Hardware and Software:
- a Computer capable of running VR apps with a decently powerful CPU and GPU.
- a VR headset for PlayStation.
- PlayStation Camera (comes with certain PSVR packages).
- USB cords (both USB-A and micro-USB).
- HDMI wire.
- programs from third parties, such iVRy or Trinus PSVR.
Install Software from a Third Party:
Installing third-party software on your computer involves downloading and installing it. Two popular choices are Trinus PSVR and iVRy. These are available on the webpages for each of them.
Place the camera on the PlayStation:
As you position the PlayStation Camera in front of your play area, make sure it can see the tracking lights on the PSVR headset.
Link the PC and PSVR together:
- Use the HDMI cord to connect the PSVR headset to your PC. The video signal from your PC will be sent to the headset via this wire.
- Utilizing the USB cord (micro-USB to USB-A), connect the PSVR breakout box to your PC. The communication between your PC and the headset will be controlled by this unit.
- Attach the PlayStation Camera to your computer’s USB port.
Set up the third-party program:
- Open the installed third-party program on your computer (such as iVRy or Trinus PSVR).
- The software can be configured and set up by following the on-screen directions. This usually entails setting up tracking, calibrating your headset, and establishing your VR settings.
Launch VR Software (SteamVR or Other):
- Using a VR platform such as SteamVR that is compatible with your PC is necessary in order to play VR games or experiences.
- Verify that your computer satisfies the system requirements for the virtual reality programs you want to utilize.
Using VR on a PC:
- You ought to be able to utilize your PSVR headset for VR experiences on your PC as long as the third-party software is open and your VR platform is operational.
Remember that there’s a chance that this method won’t work for you, and that it won’t work with every PC VR game. With the PSVR, some games might not function properly, and tracking might not be as accurate as it is with specialized PC VR headsets like the Oculus Rift or HTC Vive.
Furthermore, it’s critical to stay informed about any new advancements or substitute techniques for using the PSVR with a PC, as community-driven projects or software upgrades can enhance compatibility and the user experience in general.
Well-liked Virtual Reality Apps and Games
Also Read: How to Defeat Cynthia Weaver in Alan Wake 2
Beat Saber
In the rhythm game Beat Sabre, you have to move about. The controls resemble those seen in Guitar Hero, Rock Band, Audiosurf, and other video games. But instead of manipulating a synthetic ship or strumming phony instruments, you slay a song with virtual laser swords. Beat Sabre requires you to use the right or left controller to hit patterns of coloured blocks that are moving toward you while the music is playing. Additionally, there are items that you have to avoid by sliding or ducking.
Half-Life: Alyx
The first full-fledged Half-Life game that Valve has released in a long time is Half-Life: Alyx. It isn’t Half-Life 2: Episode Three or Half-Life 3. Events in the game take place before to Half-Life 2 but after Half-Life. You take on the role of the beloved character Alyx Vance. In the roughly 11-hour campaign, you battle against hostile Combine forces and investigate their weaknesses. You can anticipate exceptional graphics and dynamics because Valve intended this experience to function flawlessly in virtual reality.
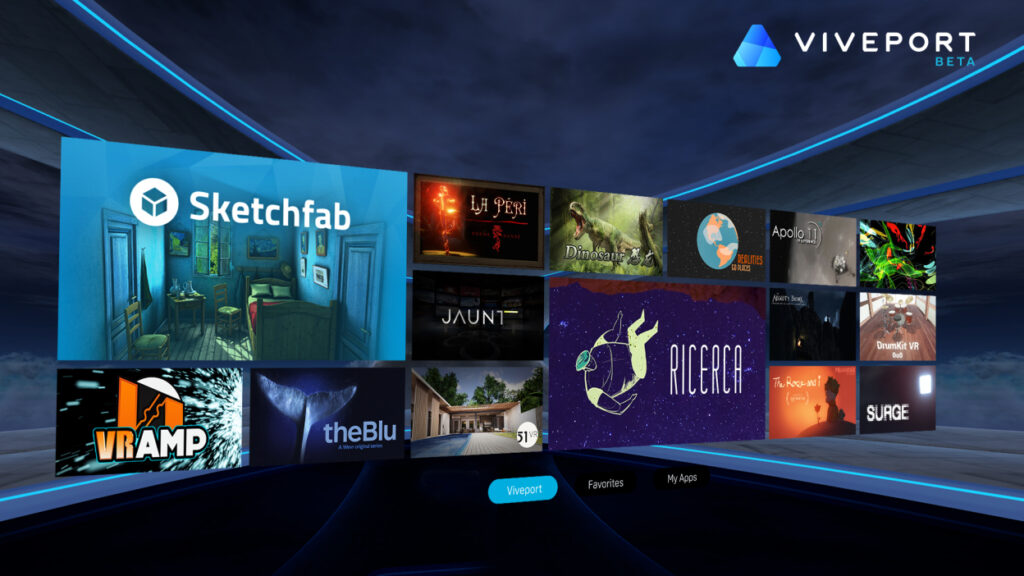
Provata VR
Whereas The Guardian VR app and other platforms focus on your social health, Provata VR app is all about your physical and emotional well-being. This VR meditation app aims to make its users feel more relaxed and healthy. The app offers a variety of locations for you to unwind, like stunning waterfalls, coral reefs, and the awe-inspiring northern lights. You select a meditation that is led. The Health app then monitors your improvement.
Gravity sketch
Gravity Sketch is a feature-rich VR content creation application. It has some extremely fantastic and user-friendly tools for creating shapes and working with curves and splines. It works well for creating product models, automobile models, and other related tasks. We concur that it bears similarities to Adobe Illustrator, as mentioned by others.
Since Gravity Sketch is a professional-grade toolkit, you can experiment with the free version as well as the feature-rich version designed to facilitate team collaboration on projects. Please note that the free edition can only support up to three users working on a single project at a time. Choose the version that best suits your needs. How to Connect Use Playstation VR to PC
FAQ
How to Connect Use Playstation VR to PC?
- Before you can connect your PSVR, you must install at least one piece of software on your PC. Trinus PSVR will used to write this composition.
- This software includes the headset drivers so that Windows can detect it correctly. Simply download the app, then follow the on-screen instructions.
- Once Trinus PSVR configured, you can attach your HDMI cable to the PS4 HDMI port on the PSVR processor unit.
- Directly connect the HDMI cable’s opposite end to your PC.
- Attach the USB 3.0 cable to the computer at one end.
- Attach the USB 3.0 cable’s other end to the USB 3.0 port on your computer. While USB 3.0 not required, operating at that speed will optimal.
- Press the power button to turn the headset on. The headset ought to appear to Windows as a new screen that attached to your computer.
- From the Start menu, select Settings > System > Display to access Multiple Displays. It is crucial to confirm that the headset’s
- 1920 x 1080 resolution with the option to “Extend these displays” selected.
- Your PSVR headset now fully connected to your PC after installing Windows!

