Metroid Prime Remastered: Arboretum Runic Symbols Locations. In “Metroid Prime: Trilogy,” the Arboretum is one of the areas you can explore. And it contains several runic symbols that you can collect. These symbols hidden throughout the area and found by exploring and solving puzzles. Collecting all of the runic symbols in the Arboretum can unlock certain upgrades and abilities for your character.
Table of Contents
Metroid Prime Remastered: Arboretum Runic Symbols Locations
In “Metroid Prime: Trilogy,” the Arboretum is one of the areas you can explore in the game. And it contains several runic symbols that you can find. Here is a general guide to help you find the runic symbols in the Arboretum:
- First Runic Symbol: This symbol found at the entrance to the Arboretum, on the right side of the door.
- Second Runic Symbol: This symbol found by taking the right path after entering the Arboretum. You will need to jump across several platforms and defeat some enemies to reach it.
- Third Runic Symbol: This symbol found by taking the left path after entering the Arboretum. You will need to navigate through some tunnels and defeat some enemies to reach it.
- Fourth Runic Symbol: This symbol found by exploring the upper levels of the Arboretum. You will need to use the Grapple Beam to reach it.
- Fifth Runic Symbol: This symbol found by exploring the lower levels of the Arboretum. You will need to use the Morph Ball to reach it.
Remember, these are just general locations for the runic symbols in the Arboretum. The actual path you take to reach each symbol may vary depending on the playstyle and choices you make in the game.
Where To Find The Arboretum Runic Symbol In Metroid Prime Remastered
Learn More: How To Defeat Flaahgra In Metroid Prime Remastered
Runic Symbol 1
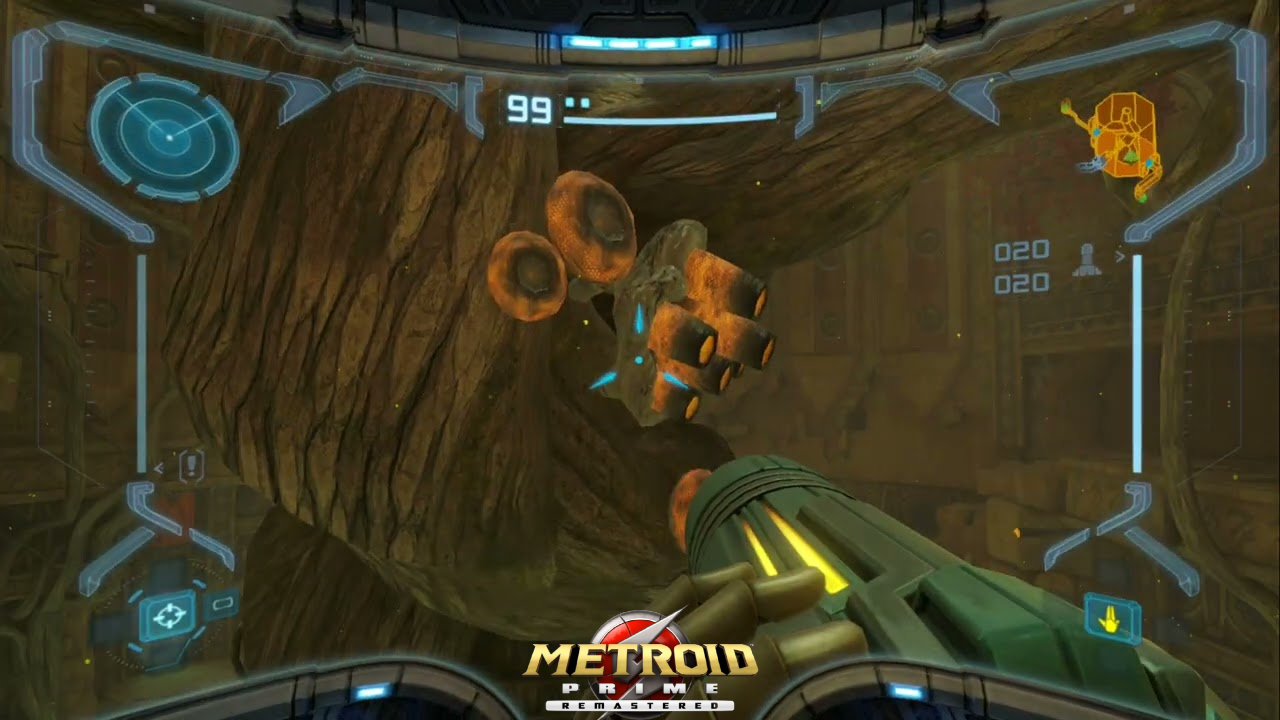
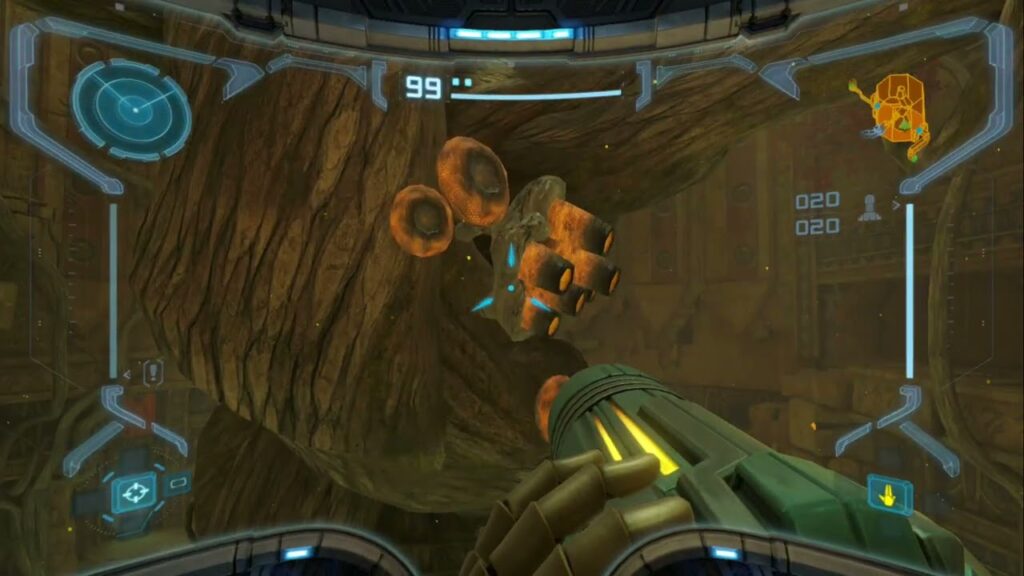
Players should find their way to the circular platforms around the foot of the room’s main tree as soon as they enter the Arboretum. These elliptical platforms link to a wooden platform supported by a wooden stick that hangs from a branch of the tree. Metroid fans who look down from this platform will see a platform populated by crimson Venom Weeds. To make those plants withdraw and show the first runic symbol, players should fire at them.
Runic Symbol 2
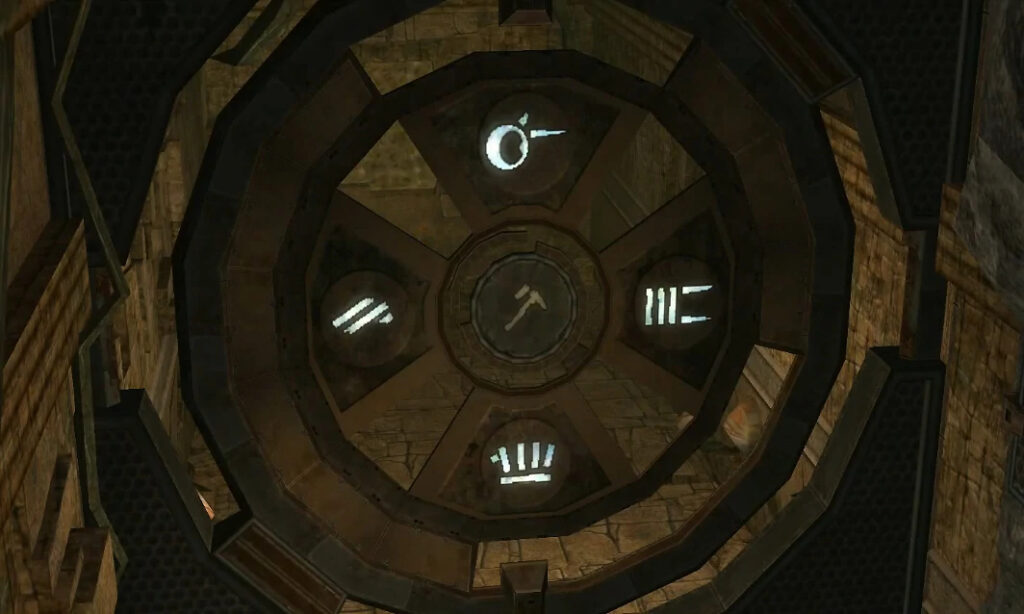
Players should face the central tree before leaving the first wooden stick platform. Fans should use Samus Aran’s Scan Visor to scan the associated second runic symbol.
Runic Symbol 3
In order to prevent War Wasp Hives on the central tree from spawning more insects, players need now continue climbing. The third runic symbol sits on the wall right past the area where using the Morph Ball and it Bombs to remove certain sandstone blocks is required to pass. Eventually, this path will take fans there.
Runic Symbol 4
Once the third symbol has scanned, players should continue to climb to get to the runic symbol door, passing through yet another Morph Ball portion. Across from that door, on the central tree, is the fourth runic symbol.
Runic Door Symbol
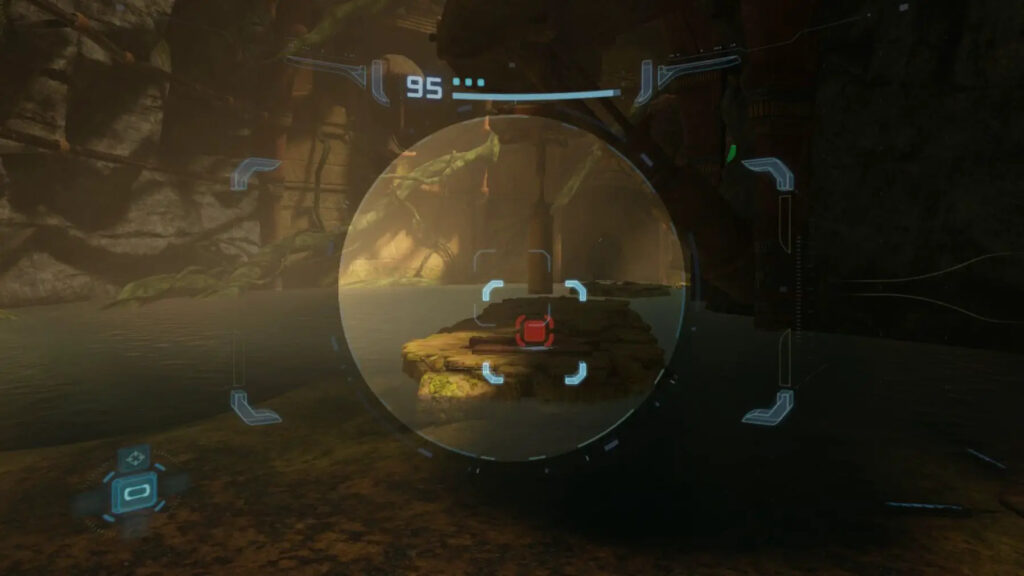
The runic symbol door will automatically open once players have scanned all four of the runic symbols by this time. Fans will discover a wall beyond that entrance that must be taken down with a Morph Ball Bomb, and the subsequent path will take them directly to the aforementioned Metroid Prime boss battle with Flaahgra.
It should noted that utilising Charge Beam, a power-up obtained by scanning the runic symbols in Metroid Prime Remastered’s Watery Hall. On the dishes that surround Flaahgra, makes this fight considerably simpler. In fact, if a disc has fully charged, a single Beam is sufficient to deactivate it, significantly reducing the amount of time Samus must spend shooting at these objects.

