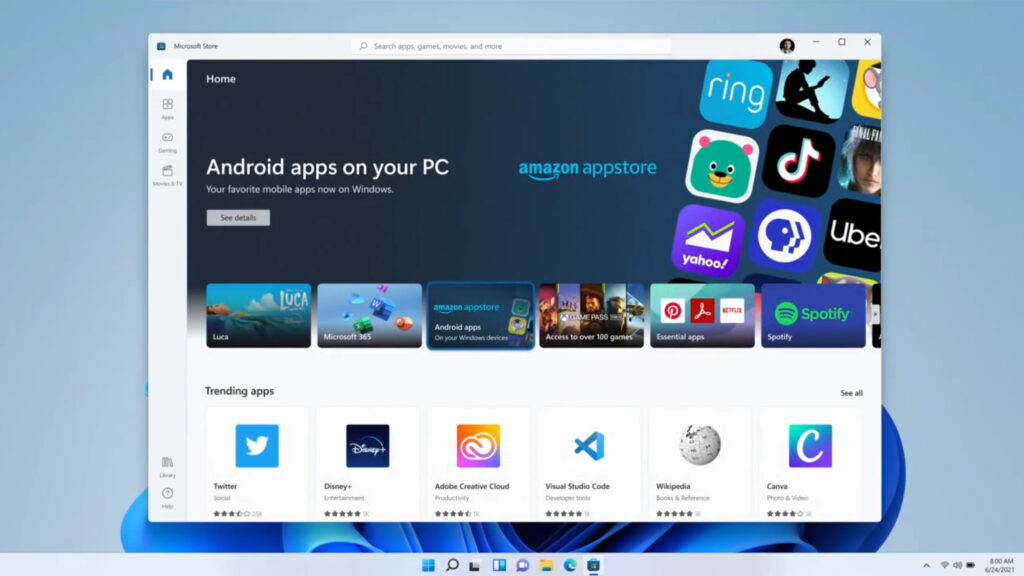
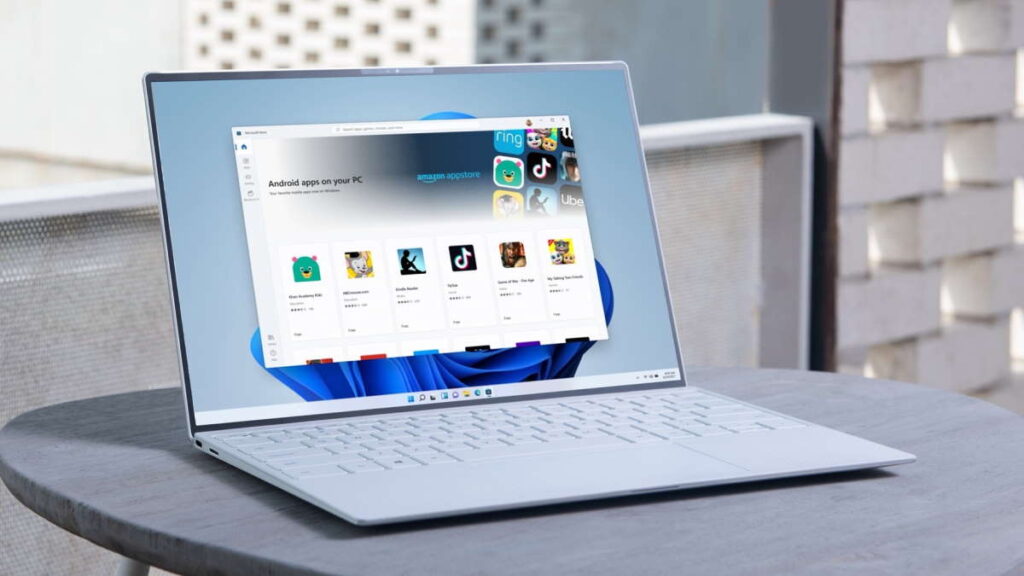
How To Get Google Play Store On Windows 11. One of the most exciting features of Windows 11 is native Android app support, but there are some significant limitations.
The most notable difference is that you can only officially download apps from the Amazon Appstore, which has a fraction of the apps available on the Google Play Store. It is also still in testing at the time of writing, limited to the Windows Insider Program’s Beta Channel if you have a US account.
But what if you could access the entire Play Store library right now on any Windows 11 device? It may appear to be too good to be true, but we have tested and can confirm that the method described in this article works.
ADeltaX discovered it and uploaded it to YouTube, but A-hAAn has since provided a simplified version. The latter is the path we’re taking here.
Installing the Google Play Store on Windows 11
Before we begin, it’s important to note that this process only works with x86, 64-bit devices. A separate link is provided below for ARM-based devices, but it will not work on 32-bit hardware.
You must also ensure that virtualization is enabled first. Navigate to Control Panel > Programs > Windows Features > Turn Windows features on or off. Tick the boxes next to ‘Virtual Machine Platform’ and ‘Windows Subsystem for Linux,’ then click ‘OK’ to confirm.

You’ll also need to uninstall the Windows Subsystem for Android (WSA) if you’ve already installed it. Search for it in Settings > Apps > Apps & features. It is not installed if nothing appears.
Also Read: How to win more games using crypto in apex legends
- Navigate to Settings > Privacy & security > Developers.
- Click the toggle under ‘Developer Mode’ to enable it, then click ‘Yes’ to confirm.
- Download the latest version of the Windows Subsystem for Android from the link below. Use this link instead if you’re using an ARM-based device, such as the Surface Pro X.
- Once finished, navigate to the downloads folder in File Explorer and double-click the ‘WSA-Patched’ file to unzip it.
- Type ‘powershell’ into the search bar at the top of the Start menu.
- Click ‘Run as Administrator’ from the options on the right. To confirm that you want the app to make changes, click ‘Yes.’
- Paste ‘Add-AppxPackage -Register C:WSA-PatchedAppxManifest.xml’ into the PowerShell window that appears, but replace the ‘C:WSA-Patched’ section with the location of the unzipped file in File Explorer (click the address bar, then copy and paste it). ‘Add-AppxPackage -Register C:UsersanyroDownloadsWSA-PatchedWSA-PatchedAppxManifest.xml’ is an example.
- It may not appear that anything has changed, but you should now see ‘Windows Subsystem for Android’ in the Start menu’s Recommended section. Click to start it.
- To begin the WSA, click ‘Files’ in the window that appears.
- After a few seconds, you should see a message that says ‘Windows Defender Firewall has blocked some features of this app.’ To proceed, click ‘Allow access.’
- The Play Store and Amazon Appstore should now appear in the Recommended section of the Start menu. However, you are unable to sign in in its current state.
- To resolve this, go to the following link and download ADBKit. It’s a small file, so it’ll only take a few seconds to download.
- Return to File Explorer’s downloads folder and double-click the ‘ADBKit’ file.
- Double-click the ‘adb’ file and select ‘Extract all’, then ‘Extract’ to confirm.
- Back in the Windows Subsystem Settings, toggle the ‘Developer mode’ switch to the on position. You should now see a message saying ‘ADB can be connected on 127.0.0.1:58526’ next to it.
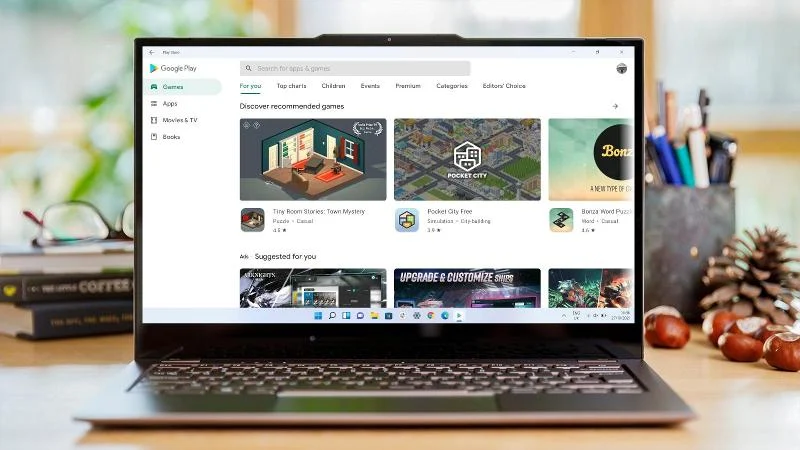
- Open the Google Play Store app and keep it open.
- Locate and open the ‘ADBKit’ folder that you previously unzipped in File Explorer. Choose ‘Open in Windows Terminal’ from the context menu when you right-click anywhere.
- Windows 11 Play Store by Google
- ‘.adb.exe connect 127.0.0.1:58526’ is the command to use.
- Even if you receive an error message, this should have been successfully completed. To confirm, run the command ‘.adb.exe devices’ – It worked if you see ‘127.0.0.1:58526’ under ‘List of devices attached.’
- Execute the command ‘.adb.exe shell’.
- Execute the command’su’. You should see the message ‘You are now root.’
- Execute the command’setenforce 0′. The PowerShell window should now look like this.
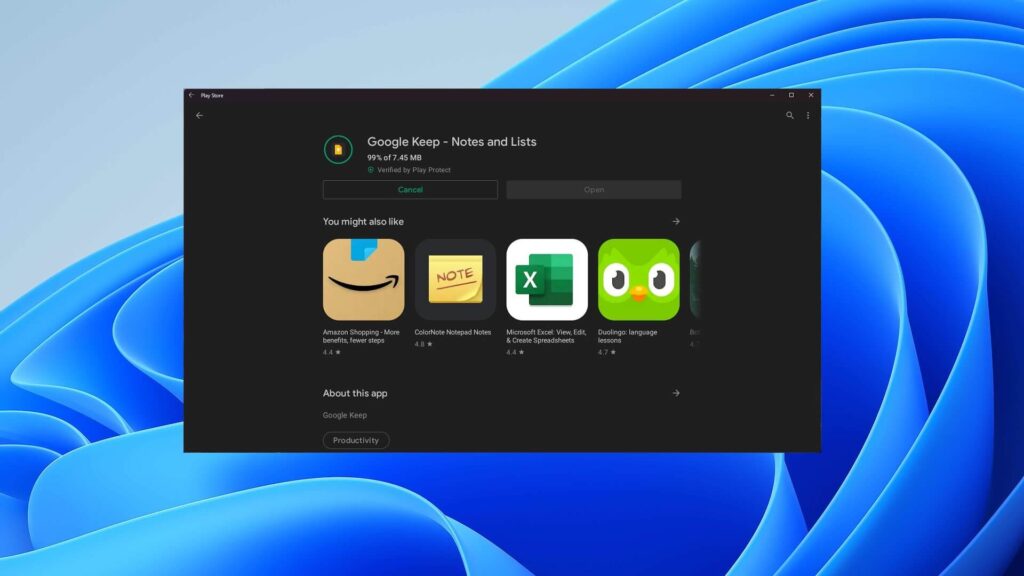
- Navigate to the Play Store and click ‘Sign in.’ You should now be prompted to enter your Google email address and password.
- You can install apps once you’ve signed in, just like you would on any Android phone.
That’s all! On your Windows 11 device, you can now install any Android app from the Google Play Store. These can be pinned to the taskbar and work with the multitasking features of Windows 11. They also change their appearance to match the theme of the device.