Waddle Dee Locations And Missions Guide. This Kirby And The Forgotten Land walkthrough will teach you how to complete the Downtown Grasslands stage and gather all of the items.
Each stage in Kirby and the Forgotten Land will provide plenty of excitement for completionists. There are secret quests to perform, hidden Waddle Dees to uncover, and capsules to collect. This guide will walk you through the Downtown Grasslands level in Kirby and the Forgotten Land, showing you where all of the hidden treasures are.
Table of Contents
Waddle Dee’s Secret Locations
Waddle Dee #1
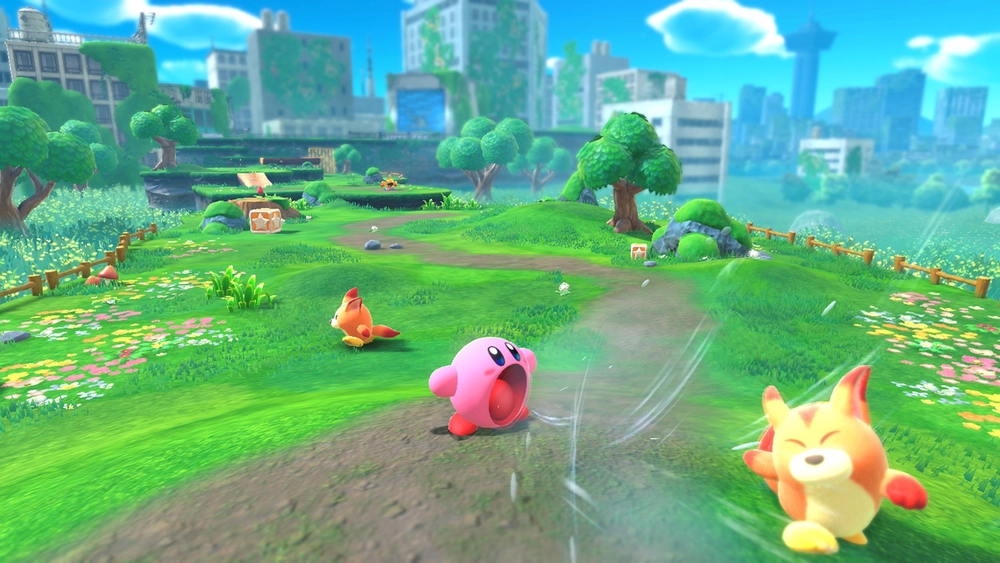
In Downtown Grassland, the first Waddle Dee is impossible to miss. The Waddle Dee can be freed from its cage after defeating the Kirby boss Wild Edge.
Waddle Dee #2
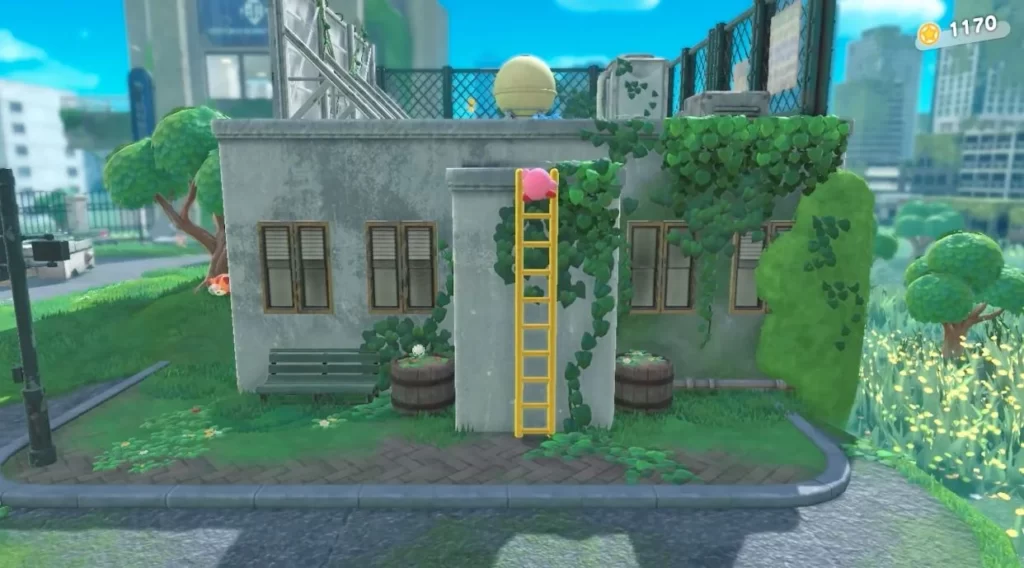
After defeating Wild Edge, players will find the second Waddle Dee. Find a container that can be opened using Kirby’s strength by climbing up the yellow ladder on the building off to the right side of the stage. It will be inhabited by the Waddle Dee.
Waddle Dee #3
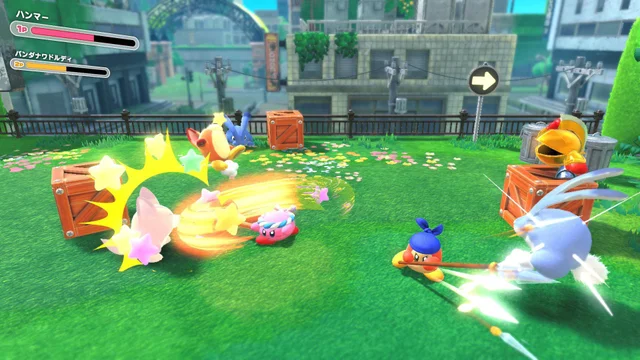
In Downtown Grasslands, the third Waddle Dee is inside the turtle monster close to the fourth tulip. To destroy the monster and find a Waddle Dee, use the Cone power-up to break the fractured platform on its back.
Locations Of Tulips
Tulip #1
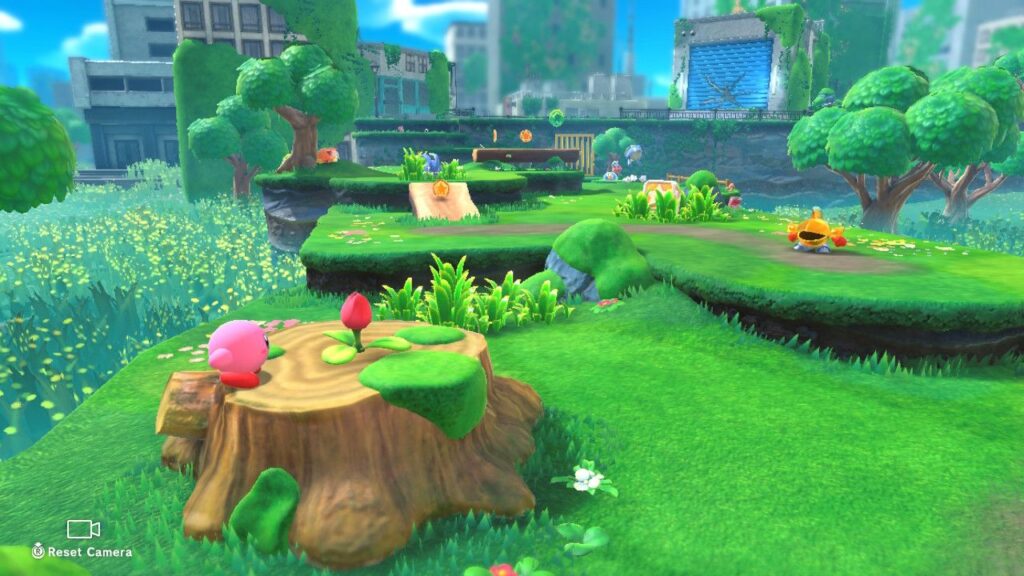
The first Tulip may be found immediately after the level begins in Downtown Grassland. Players will see the tulip on the left side of the walkway on a tree stump before approaching the Cutter enemy, who launches sharp boomerangs.
Tulip #2
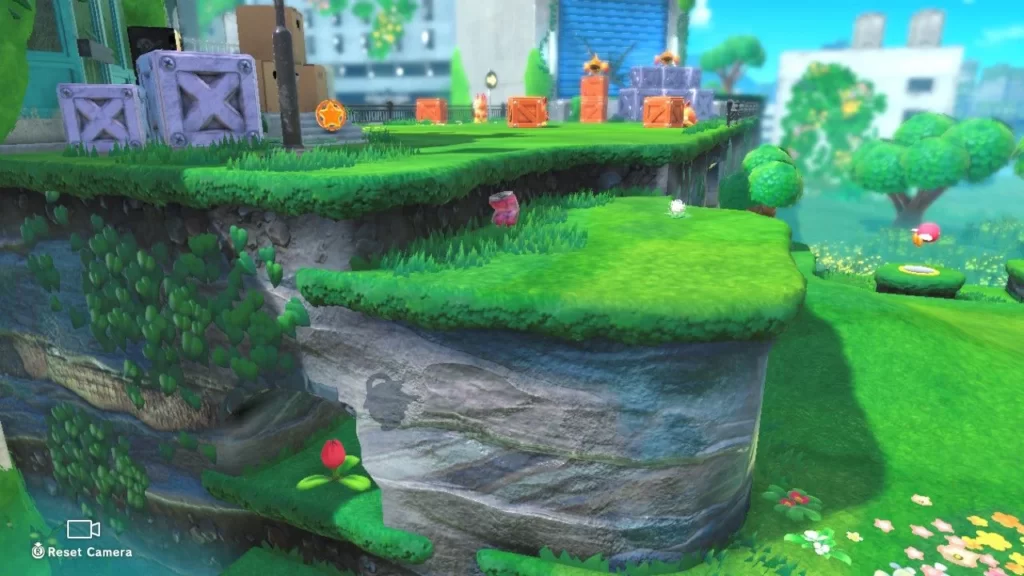
Hit the switch on the right side of the route to open the gate with the health item before jumping up to the region with the vending machine power-up. The second tulip is reached by a secret passage on the left.
Tulip #3
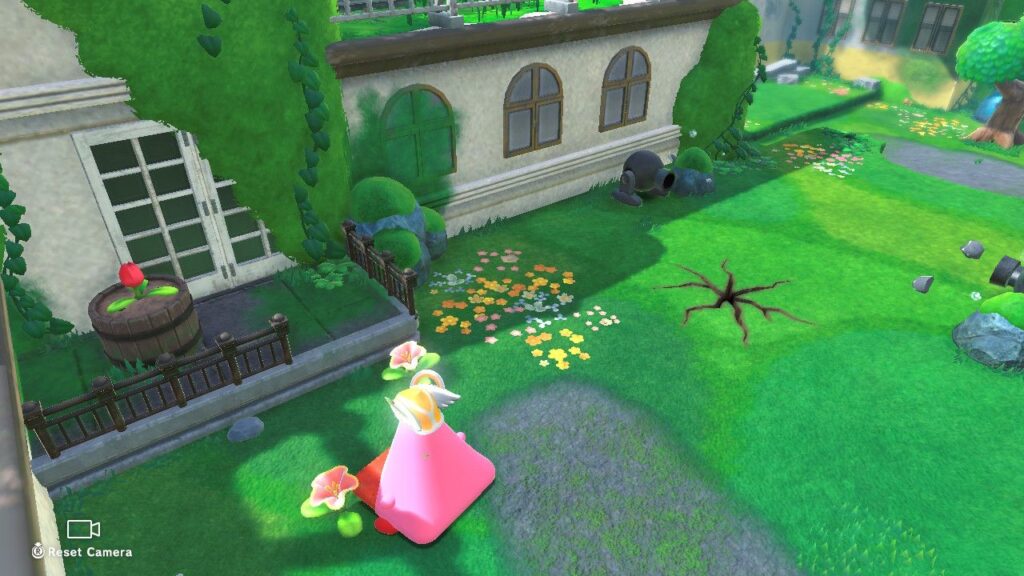
Continue through the level until players reach two cannons firing cannonballs after acquiring the Cone Mouth power-up. Rather of passing them by, glance to your left for the tulip on top of a barrel.
Also Read:How To Buy Ghost Glovewort In Elden Ring
Tulip #4
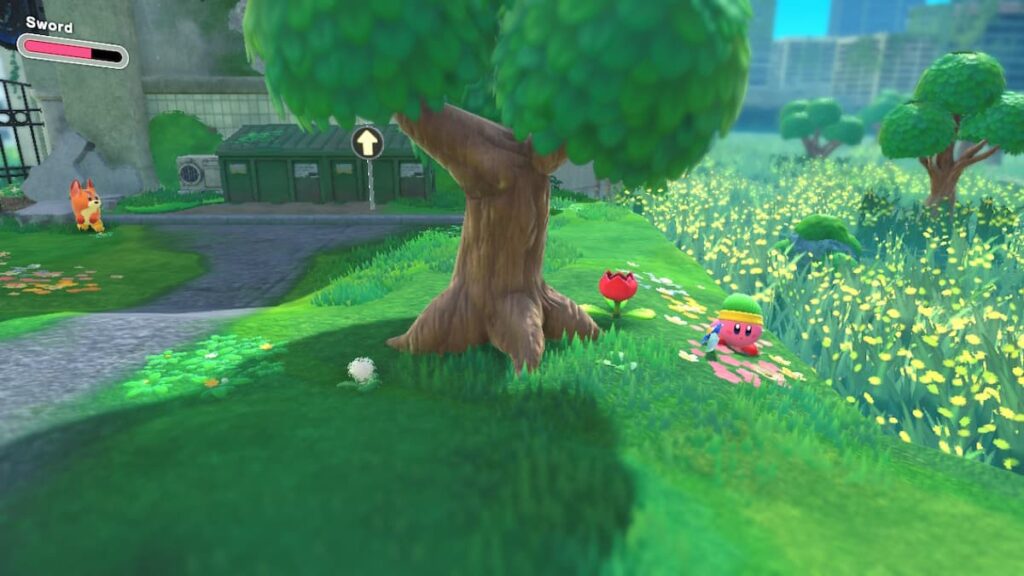
When Kirby and the Forgotten Land players come across the first dinosaur turtle-like adversary with a cracked platform on its back, look to the right near the tree for the next tulip.
Tulip #5

The last tulip can be found once players start ascending a tower. Near the top, a bull will charge at adversaries, and the last tulip will appear behind them.
Break The Shutters On The Building
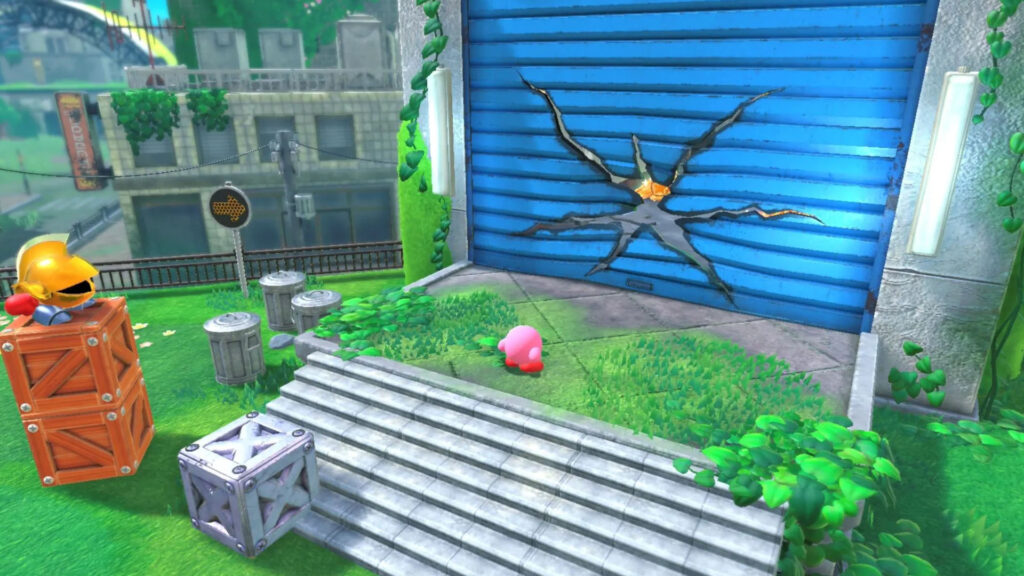
Walk to the right and break open the already-damaged blue shutter door as soon as players employ Mouthful Mode to become a vending machine.
Up To The Balcony, Take The Spewing Water
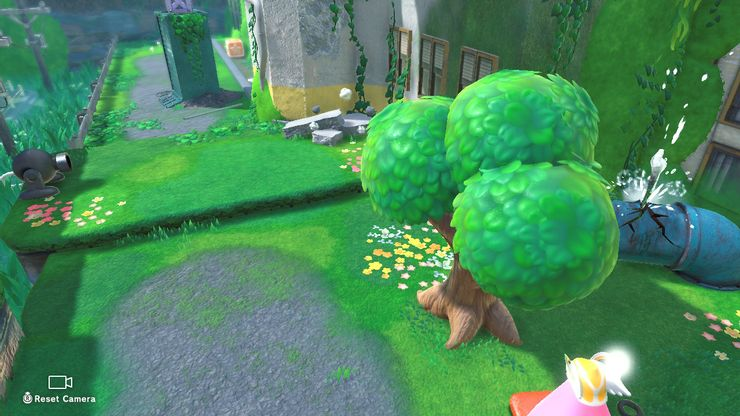
Players will cross two cannonballs after locating the third tulip. Instead of walking to the left to pass the next cannonball, look to the right for a burst pipe. Break it using the cone power-up, then ride the water to the balcony.
Locations Of Capsules
Capsule #1
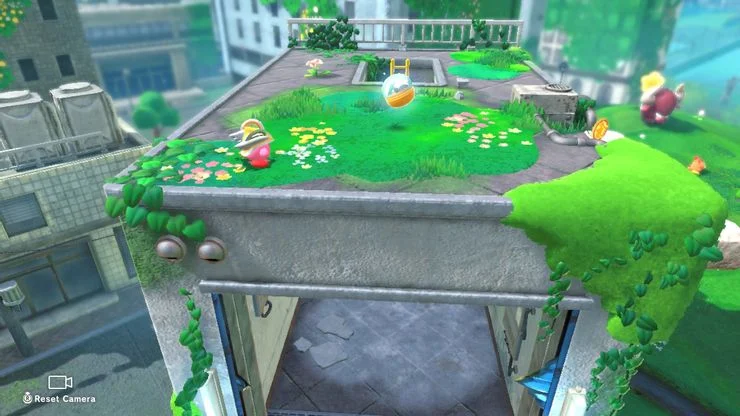
Break open the blue shutter door and climb the ladder inside after using Mouthful mode to gather vending machine electricity. The capsule will be located on the roof of the building.
Capsule #2

Use the cone power to smash the stack of metal boxes to find the next capsule item after destroying the pipe and riding up the spouting water.
Capsule #3

After riding up the geyser to bash down on the big turtle monster, the final capsule is part of the main plot line.
The Nintendo Switch game Kirby and the Forgotten Land is now available.

