All Wisp Locations In Alabaster Icelands. The latest mainline Pokemon game, Pokemon Legends: Arceus, sees the titular deity send players deep into the Sinnoh region’s history on a quest to capture every single Pokemon. During the course of the adventure, players will get further requests from the residents of Jubilife Village, including one from a curious girl who challenges players to find all 107 wisps concealed around the historical Hisui region. Players can use this guide to locate all of the wisps in the Alabaster Icelands.
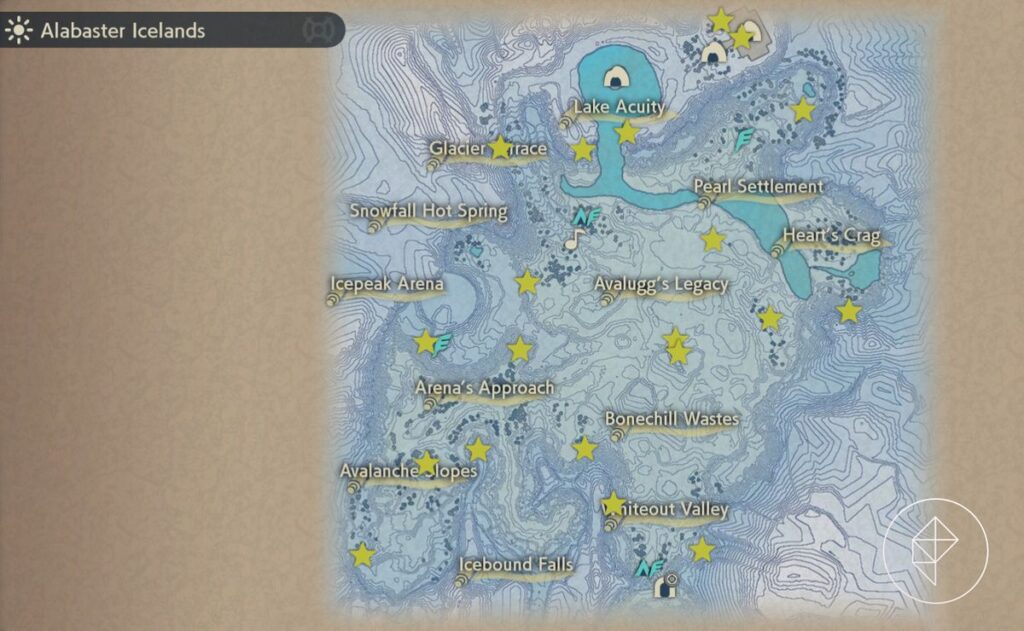
Because the Alabaster Icelands is one of the last regions players will explore in Pokemon Legends: Arceus, its wisps are among the most difficult to reach. After winning Braviary’s trust, collecting them becomes a lot easier, but the flying mount isn’t strictly necessary if players have Sneasler to assist them. The maps below should also be of great use, with star stamps indicating open wisps, ore stamps indicating wisps found in caverns or underground, and Poke Ball stamps indicating entryways to these locations.
Table of Contents
The Lower Alabaster Icelands
Whiteout Valley & Arena’s Approach
On top of a nearby mountain, to the right of the campsite, is the first wisp. The cliffs should look familiar to those who have already collected wisps in other places of Pokemon Legends: Arceus. The second wisp lies just over the tiny valley on the other side, but a little higher up. Players can mount the wall with Sneasler, but it’s also an excellent vantage point for Braviary.
On the other side of the mountain, players can find another wisp to collect. Players should search for a spot where it turns to the north along the left-hand side. The wisp is perched on a high ledge at the far end of a nearby black Tumblestone mining area.
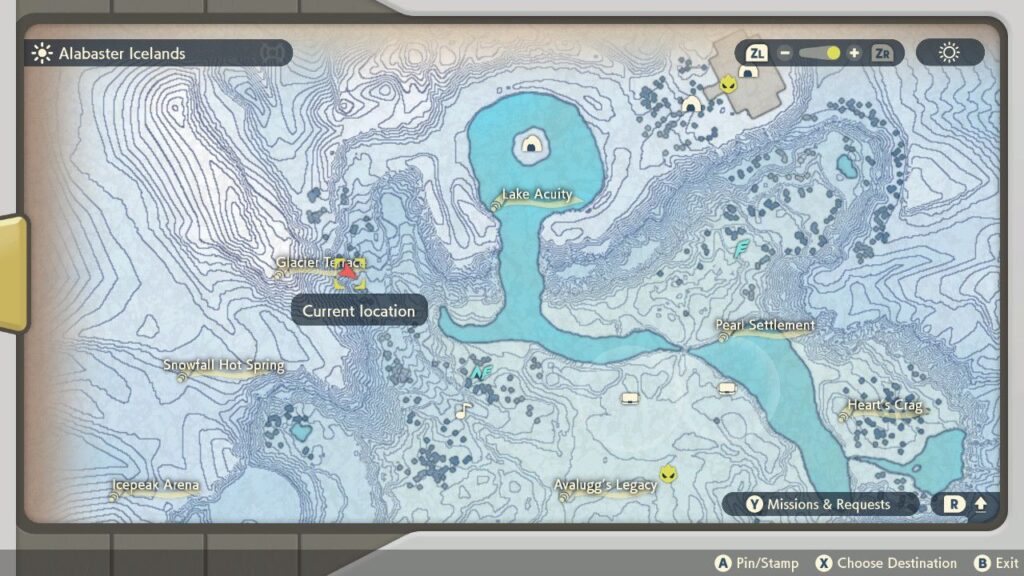
Players should go east after collecting this wisp to Arena’s Approach for another simple wisp. Between the mountain and the “steps” to Icepeak Arena, there should be a gap. Another wisp for players to claim can be found in that small area.
Avalanche Slopes & Icepeak Arena
After that, players should approach Icepeak Arena and look for a small cliffside with grass and a few Bergmite to the left of the entrance. A wisp hangs off the edge of the rock facing Avalanche Slopes. Players should notice a lone hill in the very centre of Avalanche Slopes if they head south from that direction. Perhaps unsurprisingly, a wisp awaits them on top. Players will then need to make their way down to the map’s edge. Two cliffs should be to the left of the edge, with a little route between them, and another wisp for players to catch in the middle of the path.
Avalugg’s Legacy
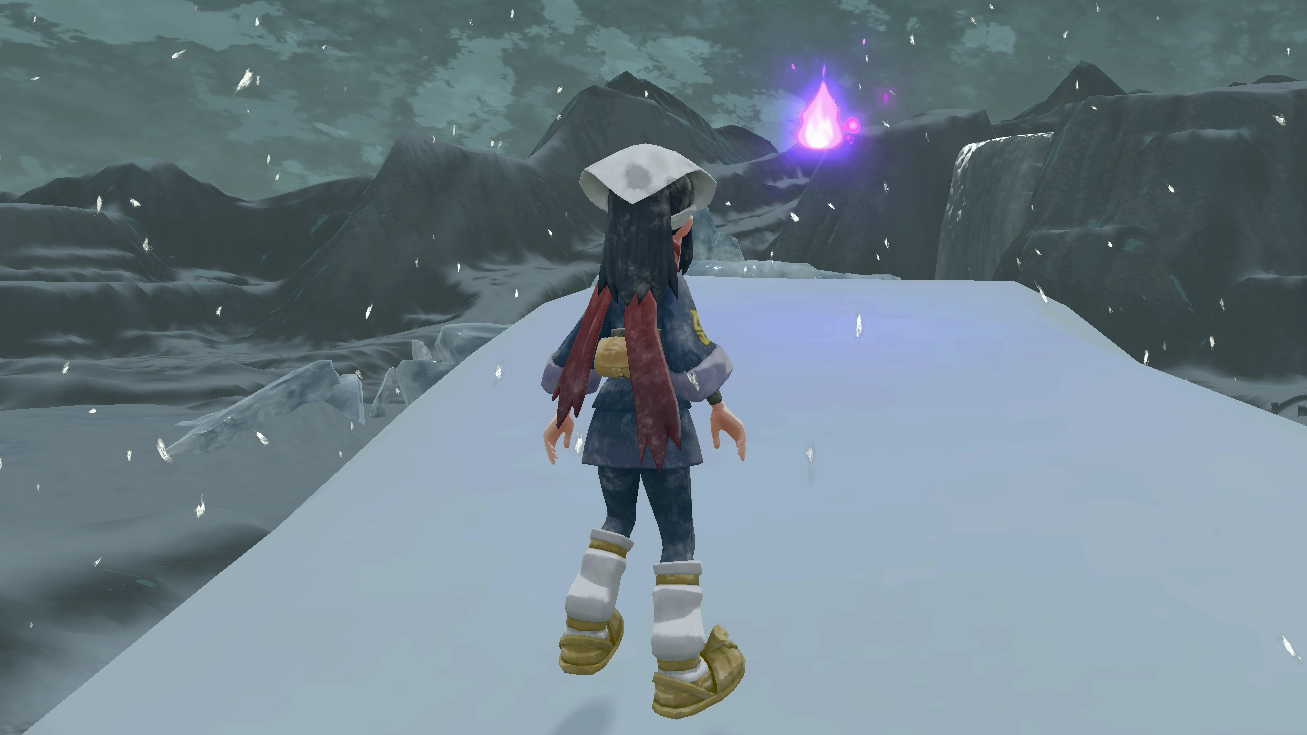
Players should proceed to the middle of the map, where Avalugg’s Legacy is located, for the next set of wisps on the bottom end of the Icelands. Eventually, a slightly higher ledge will appear against all of the snow, which will be cut in two by a single straight higher ledge. Another wisp sits on that, facing the cliff.
Also Read: How to use talismans in elden ring
The area’s next wisp can be discovered underground. Players can find a big hole that leads to an ice-covered area using the map above. They should avoid falling and may want to employ Braviary to make the drop a little safer. Once inside, they can follow the ice path to a smaller room of ice and, at the very end, a wisp on the left-hand side. If players wish, they can also catch Hisuian Zorua in this location.
The Upper Alabaster Icelands

Snowfall Hot Spring & Heart’s Crag
Another wisp can be found on the way back across the Icelands, near Icepeak Arena. This one is near the Snowfall Hot Spring, and players may get there by either jumping down on the curve before the hot spring or climbing up on the cliff’s curve. It can be discovered all by itself on a single cliffside. Another wisp can be discovered on top of gigantic boulders jutting skyward across the river to the extreme right of Avalugg’s Legacy. The pinnacle of the largest and highest of these boulders has a wisp at the top.
To get to Heart’s Crag, players need continue to the right, across the large lake. They should stay on the small stretch of ground south of Heart’s Crag and look for a large cliff with Doppel Bonnets enticing gamers to climb upward. A wisp will be waiting for the players’ misfortune.
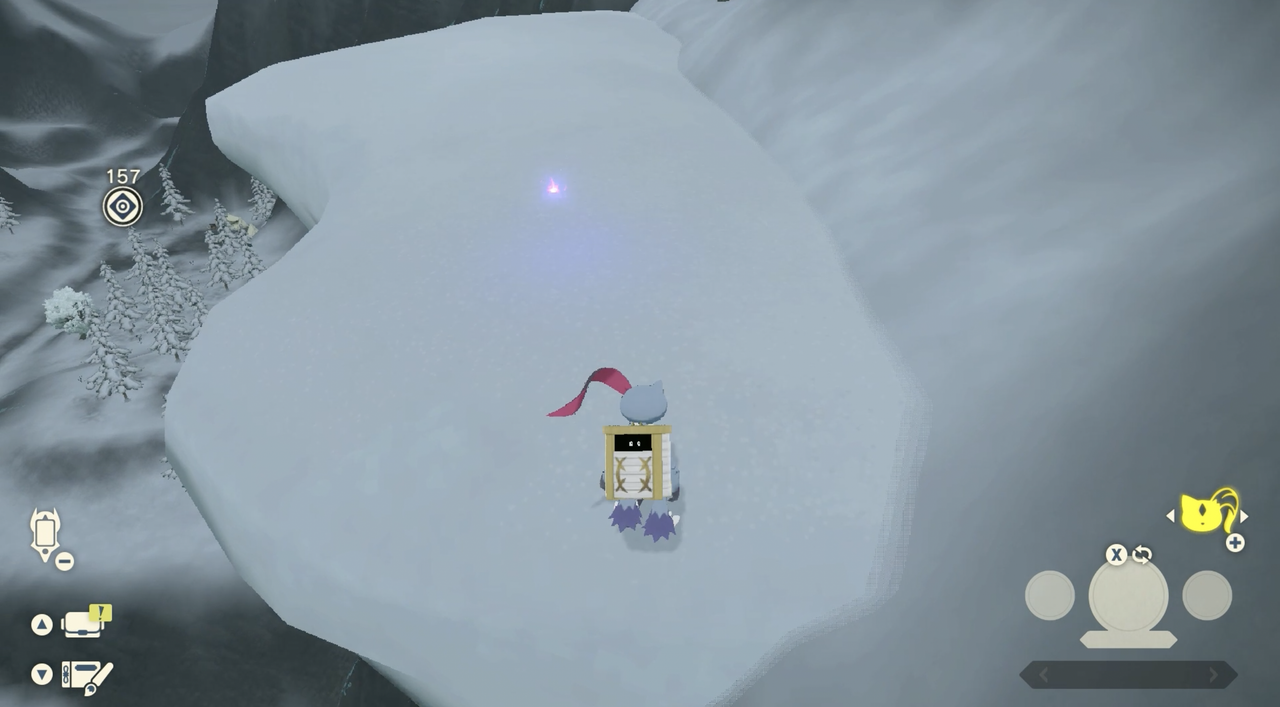
Finally, players must cross the water to reach the Pearl Settlement Bridge, which connects Avalugg’s Legacy and the Pearl Settlement. A solid cube of ice should be placed between them. Trainers should climb to the top for a second wisp facing the bridge.
Glacier Terrace & Lake Acuity
The waterfall flowing to Lake Acuity has to be one of the most iconic aspects of the Alabaster Icelands. A steep slope leads higher up the mountainside to the left of this. Stick to the left side of the slope with Sneasler as you ascend it to reach three massive upper ledges near the midway point of the course. Players should be able to find a wisp by climbing to the top.
Players should return to the waterfall after collecting the waterfall wisp and look for a cave entrance on the left side of the waterfall. A wisp can be found at the end of the small underground space inside if a Pokemon is used to break the rocks. To access the right-hand side of the lake’s mouth, players must first find a way up towards Lake Acuity itself. Another wisp can be seen along the land’s edge.
The Last Four Wisps in Alabaster Icelands
Players should fly to the east of the Pearl Settlement (if they already have Braviary) and stick to the cliff side hugging the small dwelling, using the view point of the lake’s height. They should eventually come across a tent right near to the mountainside, with a wisp behind it. The final two wisps may be located in Snowpoint Temple, but they’re only a short climb from the Pearl Settlement.
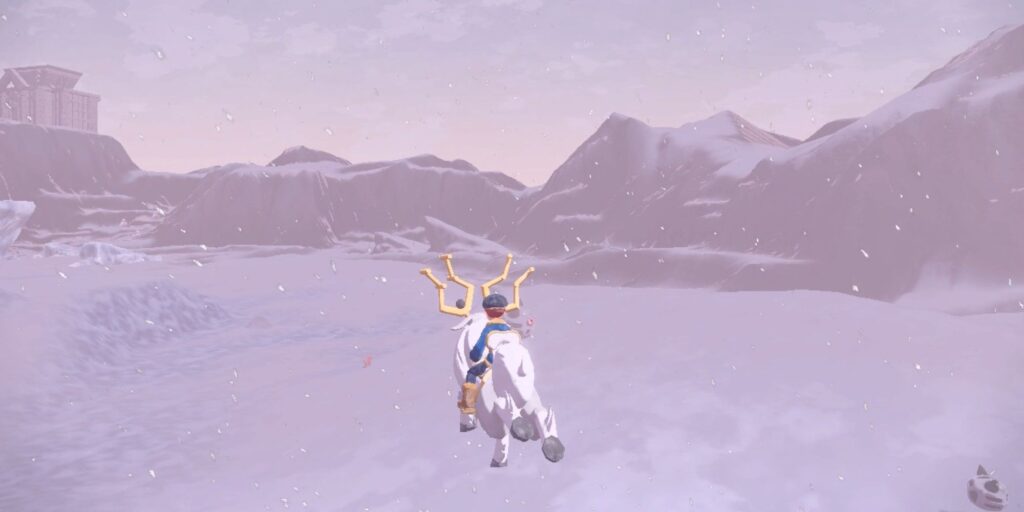
There should be a little, flat slope on the left side of the temple entrance. A wisp will also be waiting for players to capture it. The final Alabaster Iceland wisp possibly the most frustrating of all the Alabaster Iceland wisps, as it buried within Snowpoint Temple itself.
Players should enter the corridor that unlocked by solving the first of the statue riddles and turn to the left rather the right. They can collect the final wisp, and possibly the very last wisp, needed to complete Request #22, in a corner there.

