How To Complete Dares Of Eternity In Destiny 2. Bungie's 30th anniversary saw the release of Dares of Eternity, a new six-man adventure for Destiny 2. When players initially launch Destiny 2, they will be plunged right into the centre of all of this activity, which can be quite disorienting. Even more so, given the strange theme of this activity.
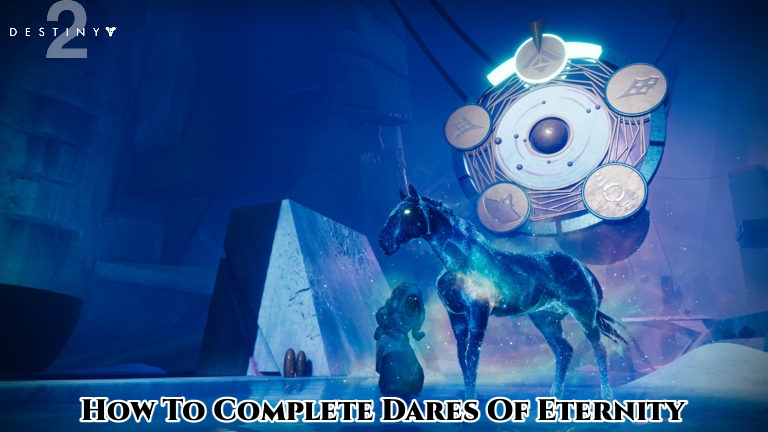
The activity, which is organised by Xûr and his special new horse pal Starhorse, can be accessible for free on the map by clicking on the new Eternity tab adjacent to the Tangled Shore. For first-time players, though, getting in with the appropriate knowledge on what to do will make the experience much smoother. This guide will show you how to complete every version of Dares of Eternity in Destiny 2.
Table of Contents
What Is Dares Of Eternity?
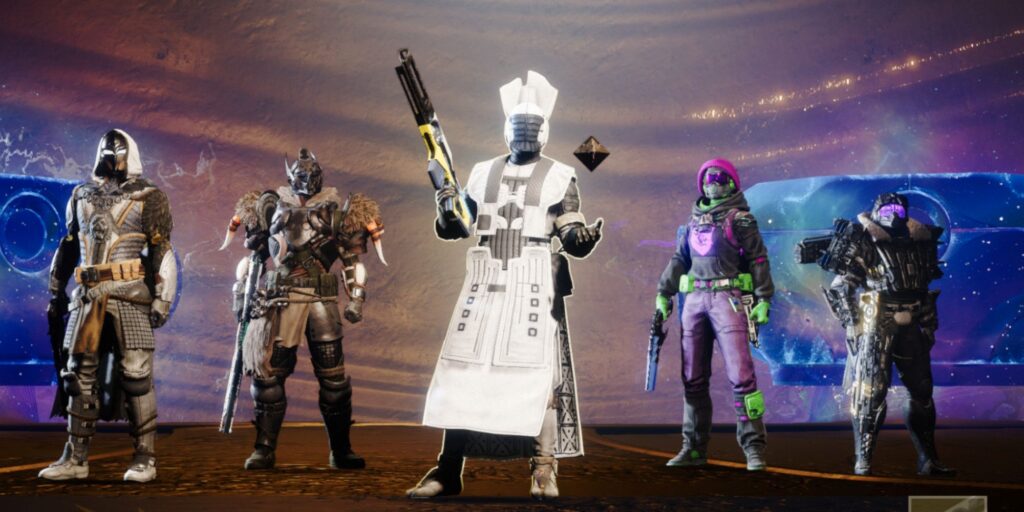
Dares of Eternity is a queued action that requires a fireteam of six players to complete. While the ordinary version of Dares of Eternity offers matchmaking, players will need to use Bungie's LFG service to locate friends for Legend runs.
Dares of Eternity rewards players with a large amount of riches and allows them to level up with Xûr, who can now be found in his Treasure Hoard sub-location at Eternity. Players can use keys and cash earned through Dares of Eternity to unlock numerous chests, which contain new weaponry and cool cosmetics, including the notorious rock ship.
Pick Up Bounties
Make sure to pick up some bounties before beginning a Dares of Eternity run. The ones sold by Xûr do not raise the player's rank with him, but they do grant a modest amount of XP+ when finished. The Starhorse bounty purchased from the cosmic horse near Xûr are the ones that players will really want. Players can only have one Starhorse bounty at a time, and they must complete it in one Dares of Eternity run (otherwise, the progress is reset).
First Encounter: The Valley
The Valley is the first place the players will visit. Before a wheel appears, which will pick the initial opponent type for this encounter, a group of Taken must be killed. The first wave after spinning the wheel, regardless of enemy type, consists only of players killing ads with no mechanics.
ALSO READ: All Estus Shard Locations In Dark Souls 3
Players will be required to accomplish various duties in the second wave, depending on the type of enemy:
| Challenge | |
|---|---|
| Taken | Kill the minotaur that spawns in the middle, which will drop Paraversal Energy orbs. Throw them into the Blight located above the arena. |
| Hive | Kill the Wellkeeper Knights and stand in the residue they spawn in order to destroy the crystals located above the arena in various locations. |
| Fallen | Defuse mines by standing on the capture zones. The final round will spawn a Servitor, with several mines to defuse around it. |
| Cabal | Kill Bombtenders, which will drop Dare Cores. Throw them into the Commanders spawning around the map to call up an airstrike that kills their shields. |
| Vex | Kill the Gatekeepers of Eternity, which will drop Vex Craniums. Shoot the beam out of the Craniums to destroy the shields of the Vex minotaurs. |
When the message "Starhorse's ears perk up" appears on the left side and a bell rings, the round is over. Players can now travel to the Valley's backside and enter a jumping puzzle.
Starhorse's Favor: The Jumping Puzzle

Starhorse's Favor is awarded to players who complete this leaping challenge successfully. For the next round, this perk grants players infinite Heavy Ammo. Leap when one of the small spinning half orbs produces a whole orb on the right side of the rotating plates that block the entry for a guaranteed first jump success. Players that jump as soon as this happens are almost certain to make it through without a hitch.
Second Encounter: The Vault

This indoor arena functions similarly to the first. Enemies will spawn after you spin the wheel. Players will only be able to destroy enemies and a few champions that spawn around the arena in the first wave, which may include Barrier and Overload champions depending on the enemy type.
Depending on the adversary, the second wave is identical to the second wave players encountered in the Valley. To find out what to do with each opponent type, look at the table in the First Encounter section.
The third bout is a mini-boss battle. To beat the boss or the Paraversal Challenger, players must do the following tasks, depending on the monster type:
| Boss Guide | |
|---|---|
| Taken | A Taken Knight will appear with a shield in the middle. To destroy its shield, kill the Blightmongers that also spawn around the arena, and throw the Paraversal Energy orbs into the Knight's shield. |
| Hive | An Ogre will spawn in the middle. Defeat the Wellkeeper Knights and stand in their residue while shooting the Ogre to lower its shield. |
| Fallen | A large Brig will be the final challenger. Players can damage it immediately without doing anything special, though Scorch Cannons can be used during this encounter for extra damage. |
| Cabal | The Cabal will spawn a large Goliath tank. Players can damage it without any special mechanics, though Dare Cores from Bombtenders can be used to do additional damage. |
| Vex | A Hydra will appear. On top of its regular shield, players will need to break an additional shield with Vex Craniums by killing Headbearer Goblins and grabbing their Craniums. |
Starhorse's Favor: Pick The Right Door
Players must pick between three round plates in front of three enormous doors where the Paraversal Challenger previously spawned after defeating the challenger. Vex is on the right, Cabal is in the middle, and Hive is on the left.
Players that correctly predict which door will be chosen at random will win Starhorse's Favor, which allows them unlimited Heavy Ammo recharge for the duration of the final boss fight.
The Final Boss Encounter
The final bosses in Dares of Eternity are straightforward, although they do necessitate some strategy. What to accomplish with each boss type is as follows:
| Final Boss | How To Complete | |
|---|---|---|
| Hive | Crota | Kill the Swordbearer Knights walking out of the portals around the arena to get a Hive sword. Attack Crota with the sword to do damage to him. He will spawn two aspects of himself mid-encounter, and damaging them will count towards the total boss damage. |
| Vex | Zydron | Dodge the detainment protocol walls that Zydron spawns in the first phase. Players can shoot themselves out of detainment. When ads spawn in, kill all the Keybearers to remove Zydron's shield and begin the damage phase. Repeat the process until he's defeated. |
| Cabal | Valus Ta'aurc | Damage the boss when he first spawns in, until he activates his shield. Players should now kill the glowing Siegebringers, which will trigger Thresher ships to arrive. Once destroyed, they will spawn Dare Cores. Throw the cores into the two generators next to the boss to destroy his shield and begin the final damage phase. |

Lightning Round
If a fireteam is hit by a Lightning Round, they will have a chance to increase their loot. As of December 2021, these are known to be fully random, however efficiency appears to improve the chances. There are three Lightning Rounds in total, each worth one chest.
Players must stay alive and capture all of the zones within the time restriction to complete the rounds. Throughout this time, Taken opponents will spawn all over the map. There are, however, a number of Heavy Ammo crates that will come, making the combat less frantic. Xûr's Chosen, a special adversary, will also spawn on the arena during this period, and it is advised that you kill him for the anniversary victory.